I've had this project sitting in the back of my mind since 2012, when my niece Jessica posted this picture on Facebook of the Christmas gift she made for her immediate family that year:
I fell in love with the idea of having the family birthdays and anniversaries make up a really cool piece of Wall Art, and I've been thinking about how I wanted to put it together since then. Jess found the 'family' piece (her's is chipboard) in the Clearance section of Hobby Lobby, so while I checked their web site, I really wasn't finding any good options there.
A few weeks ago I was at another craft store and was looking at their 1/2" thick wooden letters and decided that would be a good option for creating my version of the wall art. I also picked up a 1/4" x 1/2" x 24" strip of wood to mount the letters on.
The letters I got were a matte black, and the strip of wood was unfinished. I debated on sanding it smooth and painting it, and to do it again, that IS what I would do, but for this one, I decided to take a roll of 1/2" thick Washi Tape from Stampin' Up! to cover the wood. I later learned that Washi Tape and Gorilla Glue (which I was using to attach the letters) do not play well together. I had wanted to either screw or nail the letters to the wood, but wound up starting to split the pressed wood of the letters apart, which is why I went with the glue instead.
On the bottom side I evenly spaced, marked and attached 12 cup hooks.
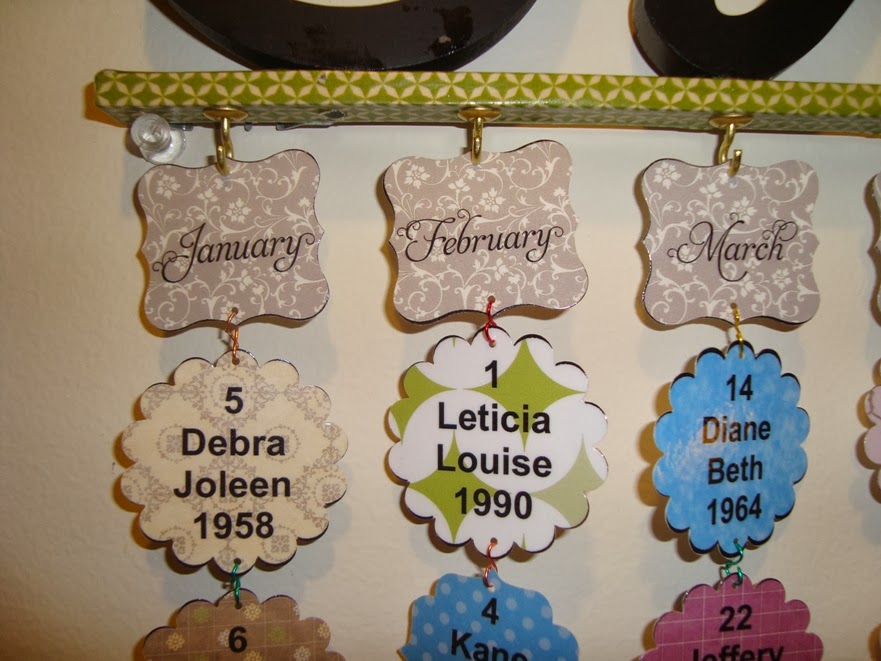
Now, for the fun part! Of COURSE I had to pull up My Digital Studio to create the individual pieces. I decided to include the date, name & year on each image. I inserted a different designer paper in each 'punched' image, added the text on top, then printed out the sheets. Once printed, I ran them thru the laminator, and punched out each of the images, and added a 1/16" punched hole at the top & bottom of each image.
Then it was a simple matter to raid my craft supplies and pull out my retired 22-gauge Wire Works (sold YEARS ago by Stampin' Up!) and cut 3/4" pieces of wire that I fashioned into 'S'-hooks to connect the dates for each month to one another.
Such a FUN piece of art to have up on the wall, and functional, too!! For Anniversaries, I used the 'Heart' punch, instead of the Scallop Circle or Bracket Label Punches.
Cool, huh?! I do have to admit that it was kinda fun to see at a glance where all of the birthdays and anniversaries hit. Also found it fascinating that we have NO December birthdays or anniversaries on the calendar. Apparently my family isn't too amorous in March!! And we're VERY lovey-dovey in July!! ;) And here are a couple of close-ups for you:
I'm so glad Jess posted this cool project when she did, and it was so fun to create my version with My Digital Studio--which isn't JUST for cards/scrapbooking!! You can always visit my online store and try it out for FREE for 30 days!!
Happy Stamping & Crafting!
Pam


I love your version. It looks amazing!
ReplyDelete