So I decided to play with the 'April Showers/Water' end of the theme today. There is a card technique using hair gel, that gives the look of water on your card, and I decided I just HAD to try it!! I went online and Googled 'hair gel card tutorial' and just went from there. One of the cool 'tips' I saw was to get the hair gel from the Dollar Store, as oftentimes, there are more 'water-like' bubbles in the gel.


I used my Oval Framelits dies on a piece of 8"x 5 1/4" cardstock to cut out the 'window' and then folded it in half and stamped the coral, fish and seahorses around the opening (both 'inside' and 'outside'). I also stamped the lobster on a separate piece of Whisper White cardstock that I then cut out using my Paper Snips (I got a cool new tool that I'm hoping to use for this task in the future, but just did it the 'old-fashioned' way today!!). I popped the lobster up on some dimensionals, attached the hair gel-filled bag to the card using Sticky Strip, and sealed the front of the card closed also using Sticky Strip. I attached the 'pouch' to the front of the folded Night of Navy cardstock using SNAIL adhesive, wrapped a ribbon around the front and added the punched-out anchor image to complete the card.

I couldn't stop at just one card using this technique, so decided to do a second one featuring the Wetlands stamp set. Now, I WILL admit to 'cheating' a little on this card--I actually created/printed the images using My Digital Studio (still sad that the program will no longer be supported after May 31, 2015), then followed the same steps as I described above to complete the card. I added the Lovely Labels tag (and punch) and Apothecary Art Framelit, some narrow Bermuda Bay ribbon and linen thread, and DONE!!

So to continue with today's 'water' theme, here are a couple of scrapbook pages I've completed that also fit in. . . .

This was among some of the first pages that I ever made. Creating the 'starburst-like' background was such a fun thing to learn, and turned out to be the perfect backdrop for the photos of the ocean that I took on my trip!

I may have shown this fish page before, but it's also one of my favorites, and another technique that I don't use nearly enough--four photoboxes grouped, then photo inserted to span all four boxes.
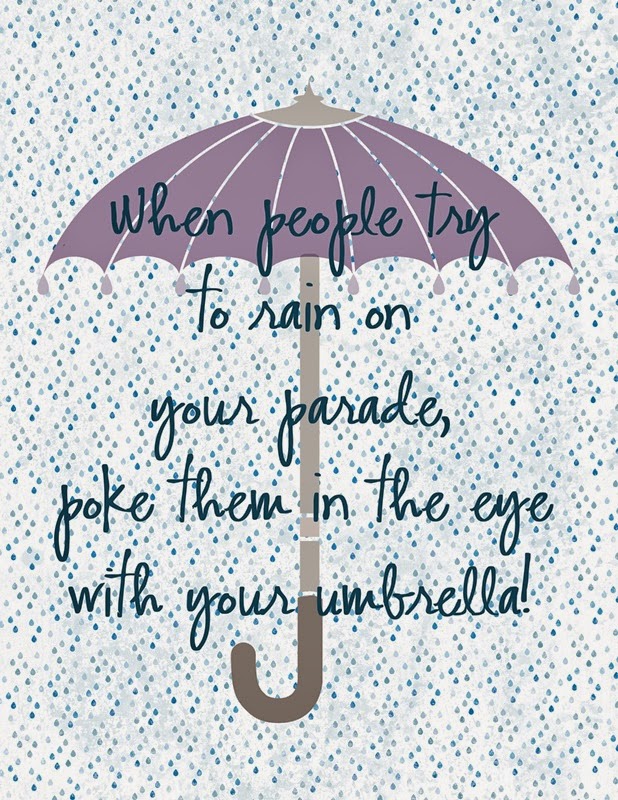
I can't leave today without sharing a fun Wall Art image that I made a while ago as well. I still need to play around with this one a bit, I LOVE the saying, and overall, it's not bad, but it doesn't give me the 'Done!' feeling I'm looking for on it quite yet. I'm not afraid to share 'works in progress', and you shouldn't be, either! If you have any ideas/suggestions on ways to improve the piece, I'm open to hear them!!
Well, that's it for today!! I hope you've enjoyed the Blog Hop stops along the way today! For quick reference, here are the links to everyone's sites:
Happy Hopping!!
Pam