Thursday, January 23, 2014

One Year Later


I hope you'll all bear with me today.  My post is a tad more reflective/personal.  I'm spending a quiet day with my sister.  It's the one year 'anniversary' (if one can really call it that?!) of our mom passing away.  Going in to this week, I've been doing a lot of thinking back on the past year and just have some random thoughts I want to share.


I am fortunate to have the good friends who have supported me this past year.  Whether it was my friend Jeanie just letting me sit and babble, or Ginger showing up to watch TV and do nothing, or sitting down for a cup of tea with Nancy, I really appreciated the quiet times that I had with them (and others!).

My Stamping Sisters have also been a HUGE life/sanity saver.  Planning card swaps for various demo events was a way for me to get back to being creative and having some semblance of 'normal' in an otherwise non-normal time.  In addition, many of my friendship there have grown over the past year and I am so thankful for each and every one of them who has touched my life!!

One really cool thing that I've done this past year is to start building my family tree on Ancestry.com.  To this point I have about 300 relatives in the tree, and it's been fun to watch it grow!  I've also managed to connect with a couple second-cousins who I hadn't had contact with previously.  Establishing some of those tangible connections to my history has been a fun process, and I'm no where near done there yet, either!!

I don't think it's any surprise for me to admit that I miss my mom.  There will always be a part of me that will, I'm sure!  But I've also been trying to focus on remembering what she taught me, and celebrating the successes that she's helped set me up for.

Initially, I had this big long post planned in my head, but as I'm writing, I think I'm going to keep it short/simple instead.  I do want to share some favorite photos of Mom that I came across this past year as I had been scanning things in.

First of all, I have just LOVED this baby pic I found of Mom when I was working on her 80th Birthday surprise party a few years ago:
I just want to pinch those chubby cheeks!!  :)

And of course, there's the obligatory High School Graduation photo:
And this photo of her in her wedding dress has always been a favorite of mine:
I also had some cute ones I found of her and me together.  This one of me on her lap eating watermelon (my brother Tim is off to the side):
We had a furniture store in New Ulm as I was growing up, and I started young with helping out moving boxes in the store it seems!!  With Mom's help, of course!!
 I'll have to tell the story about my first sewing machine sometime, but here's a photo of me with Mom teaching me how to sew on it:
Mom actually did go riding, just not as much as the years went by, but here we got a pic of her on my gelding Balladeer!!
And finally, a cool pic from 2003 when Mom & I spend 2 1/2 weeks out in Washington D.C.--dog-sitting for my brother Tim and sight-seeing:
So, just a few photos I wanted to share today. 

Pam


Friday, January 17, 2014

Tutorial Time--Digital Embossing

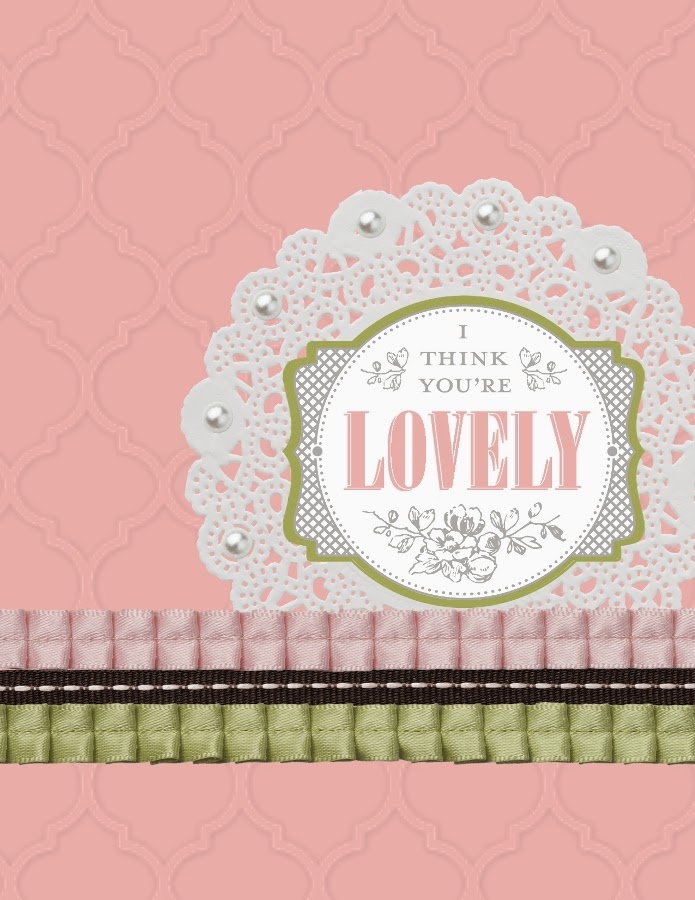
I absolutely LOVE using the Textured Impressions Embossing Folders when making cards, and I have been bound and determined to figure out how to get the same basic 'look' when creating digitally.  AND I think I finally hit on the perfect combination of steps, so wanted to share that with you!!  Now, as with ANYTHING digital, it's really subjective, so just because I like this combination of steps, doesn't mean you can't play around to find your own preferences!!  But hopefully, by laying it out there, you can have a starting point to work from!!  And in My Digital Studio (MDS), Stampin' Up! has been coming out with a lot of the Textured Impressions Embossing Folders as Stamp Brush Sets!!

First up, open up a 'design your own' card in MDS.  You can do Landscape or Portrait--either is fine and the steps are the same.  First up, insert a blank page at the end of the document.  This is basically my first step any time I know I'm going to be adding something (from a design standpoint) to my card that may take a few steps.


I'm showing 
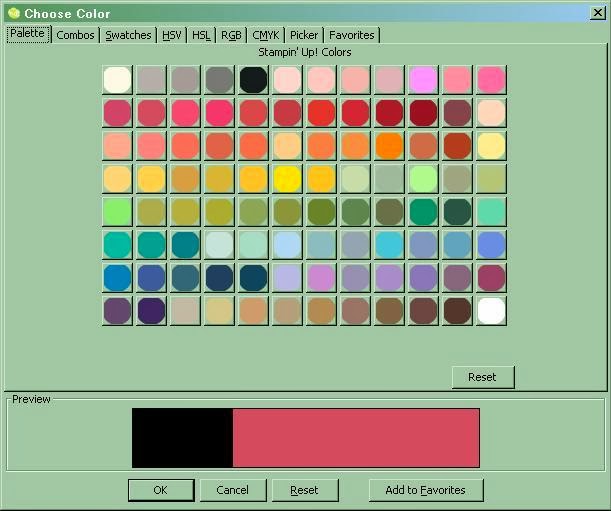
Denise's card from the blog hop the other day that I re-created digitally, just in case you're trying to figure out what I'm doing . . . .  O.K., since the background on her card is Strawberry Slush, the first thing up is to change my background color!!
Then, I scrolled thru my Stamp Brush Sets and found the Decorative Dots image and selected it.
The way the image imports in, you'll need to rotate it 90 degrees, then be sure to Center it Vertically & Horizontally.
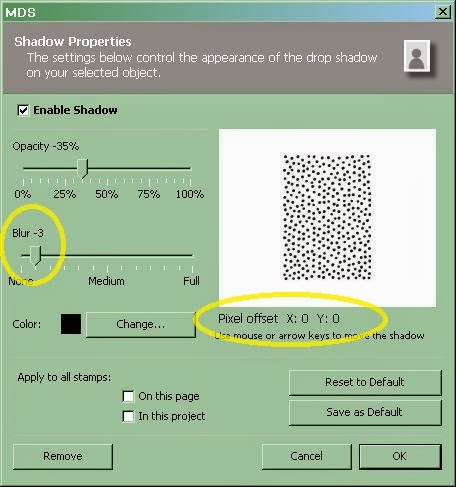
Now, you get to add a Drop Shadow to the selected image. . . . .

Two things here. . ..  I reduce the Blur to -3 & change the Pixel Offset to X:0 & Y:0.  Then click O.K.
When you come back to the image, next up is to change the color.

For MOST of my cards, I do my export of the page at this point. . . . but with Denise's Card, she was using the Co'ordinations Cardstock, which was sanded a bit and had some white showing, so I added a few steps for this card to try to recreate that look.
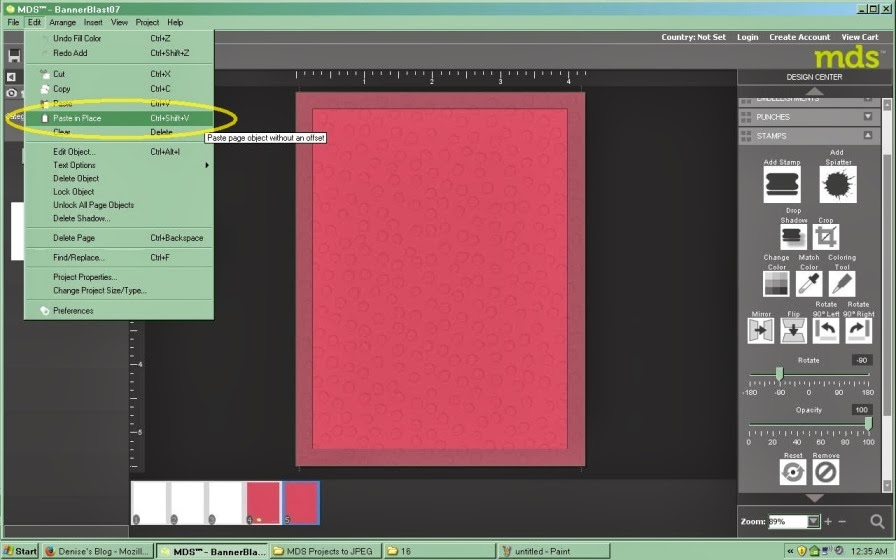
First up, Copy & PASTE IN PLACE the Decorative Dots image.
Now, you'll notice that the shadowing got darker, BUT since I'm going to lower the opacity on this one, I actually need to REMOVE the drop shadow from the top layer.
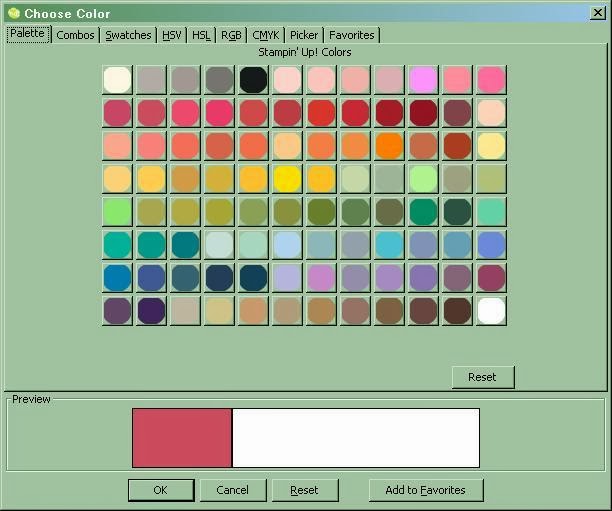
AND you'll need to change the color to Whisper White:
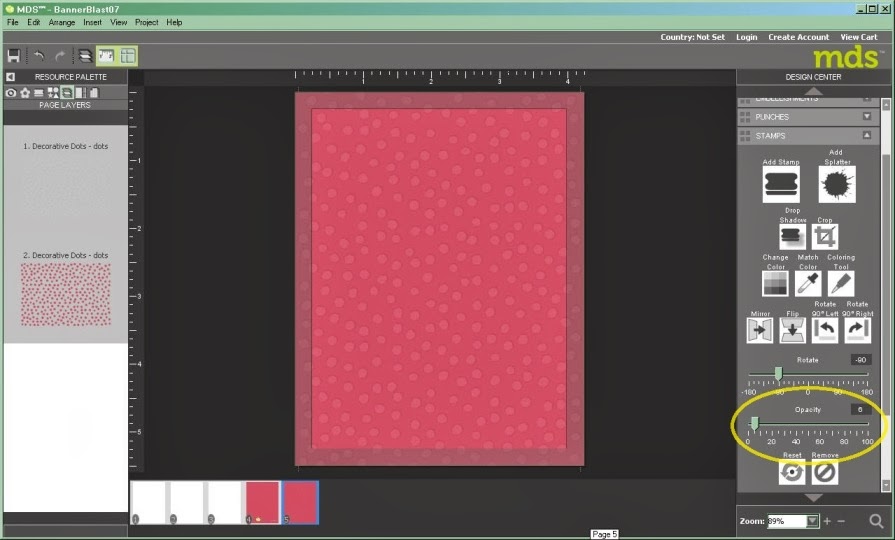
AND lower the Opacity . . . . I think I've been going to around 5%
Cool, huh?!
Next up is to export your image  as a JPEG . . . . I usually just export the entire thing, but you CAN just select Page 5 (the one you're working on) if you want . . . and be sure to pay attention to WHERE you're saving the folder on your computer!!
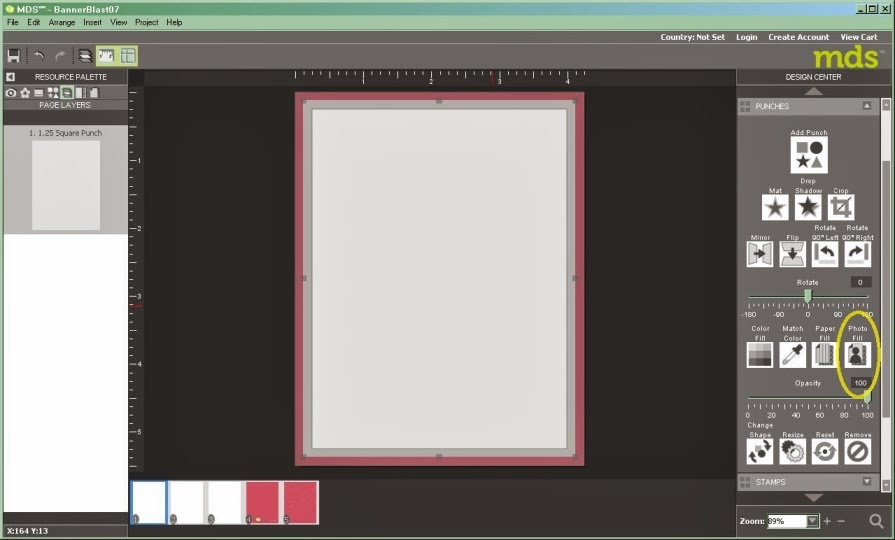
O.K., NOW, move to Page 1.  Add a punch and resize it (Edit Object) to 4" x 5.25".  Then center the punch Vertically & Horizontally.
THEN, you'll need to make sure the punch is still selected, and over in the Design Center (under Punches) and choose to 'Photo Fill' your punch.
This is where you'll need to navigate to the folder where you have the JPEG you just Exported going.
Select the correct image (should be #5--nice thing is that you can see the preview of the images on the right side) and click 'OK'
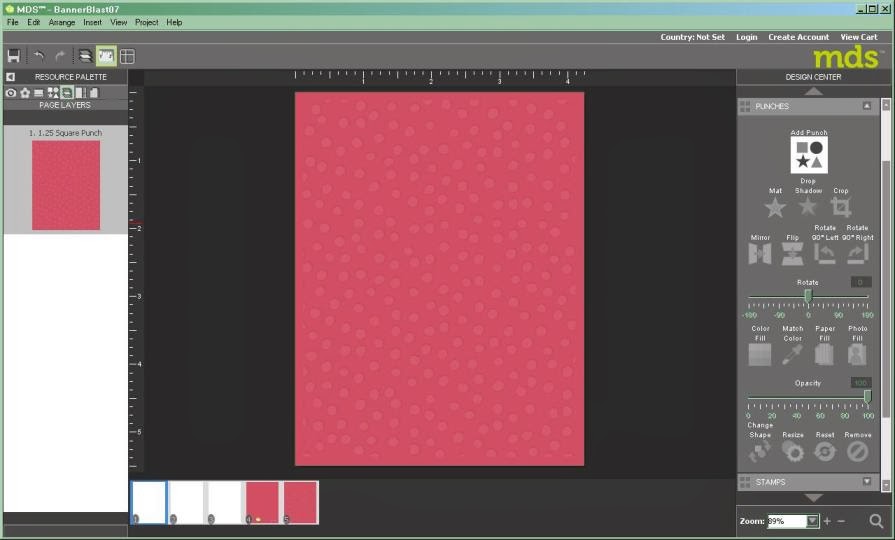
And there you go!!
I removed the Bleed Area so that you could see the full front of the card without the shading.  Now. . .I need to add a drop shadow to this.  Right now, because the punch is the same color as the background, you really can't differentiate between the two layers.  If they were two different colors, you probably wouldn't have to do this.  Sooooo, make sure the punch is selected, then go into the Design Center under Punches and add a Drop Shadow.
You can mess with the Blur if you want, but for me, it's more important in this step to simply change the Pixel Offset to X:0 Y:0 and click 'OK'
Cool, huh?!
Now, it's just a simple matter to finish designing the card!!


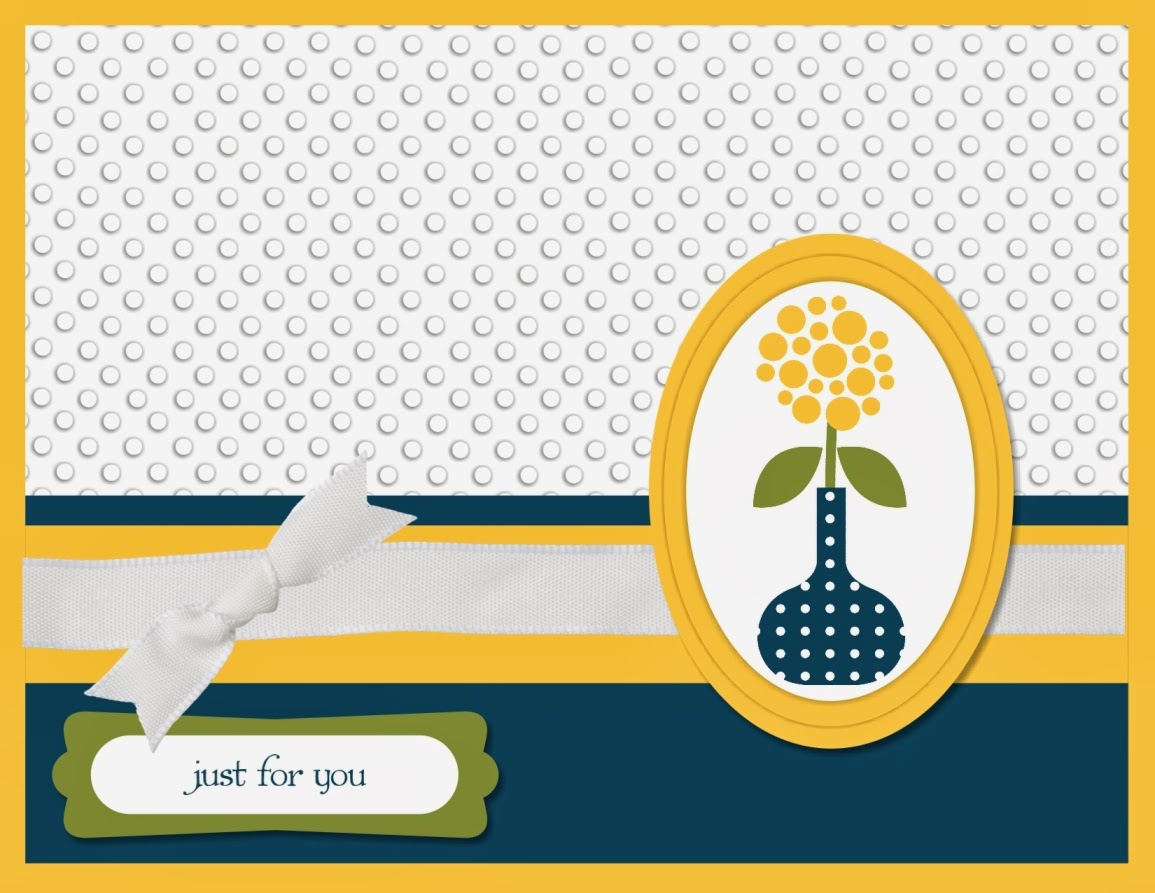
This card uses the same Decorative Dots Embossing Folder, but for this one, I didn't do two layers of the image--really, white on white, it wouldn't do much good!!  And I also didn't add the Drop Shadow to the image-filled punch since the background was a different color.

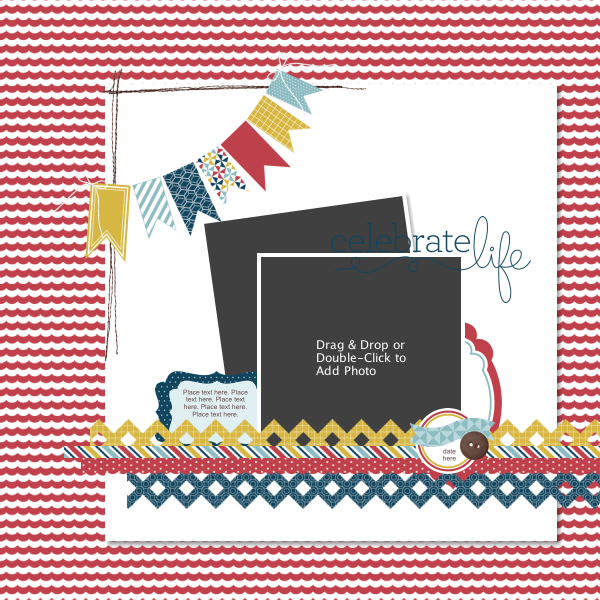
This one uses a different embossing folder, and you can zoom in/out to spread things out a bit more if you want!! 
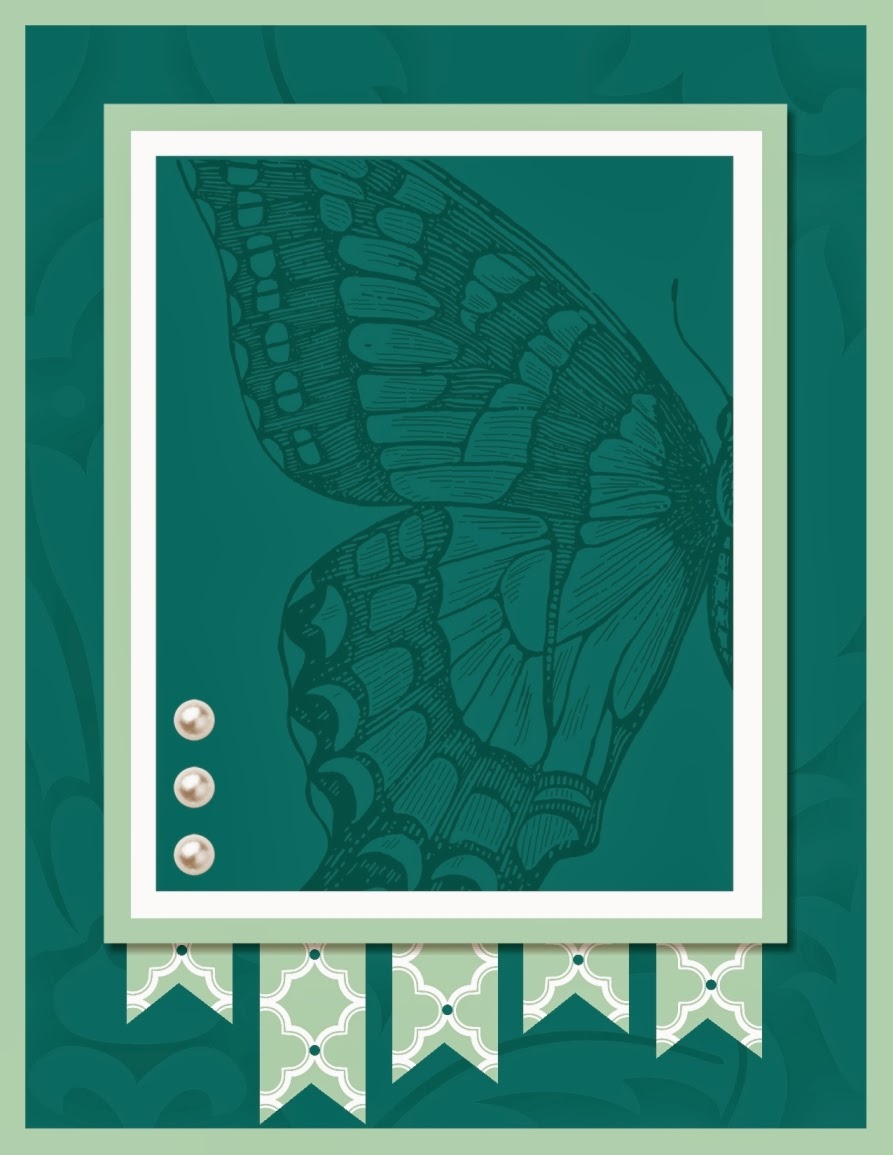
For this Swallowtail card, I used the Baroque image to try to create the embossed image on the back part of the card--this was one of my earlier attempts --before I started reducing the Blur to -3, but I think it still can give a nice look to the back of the card.
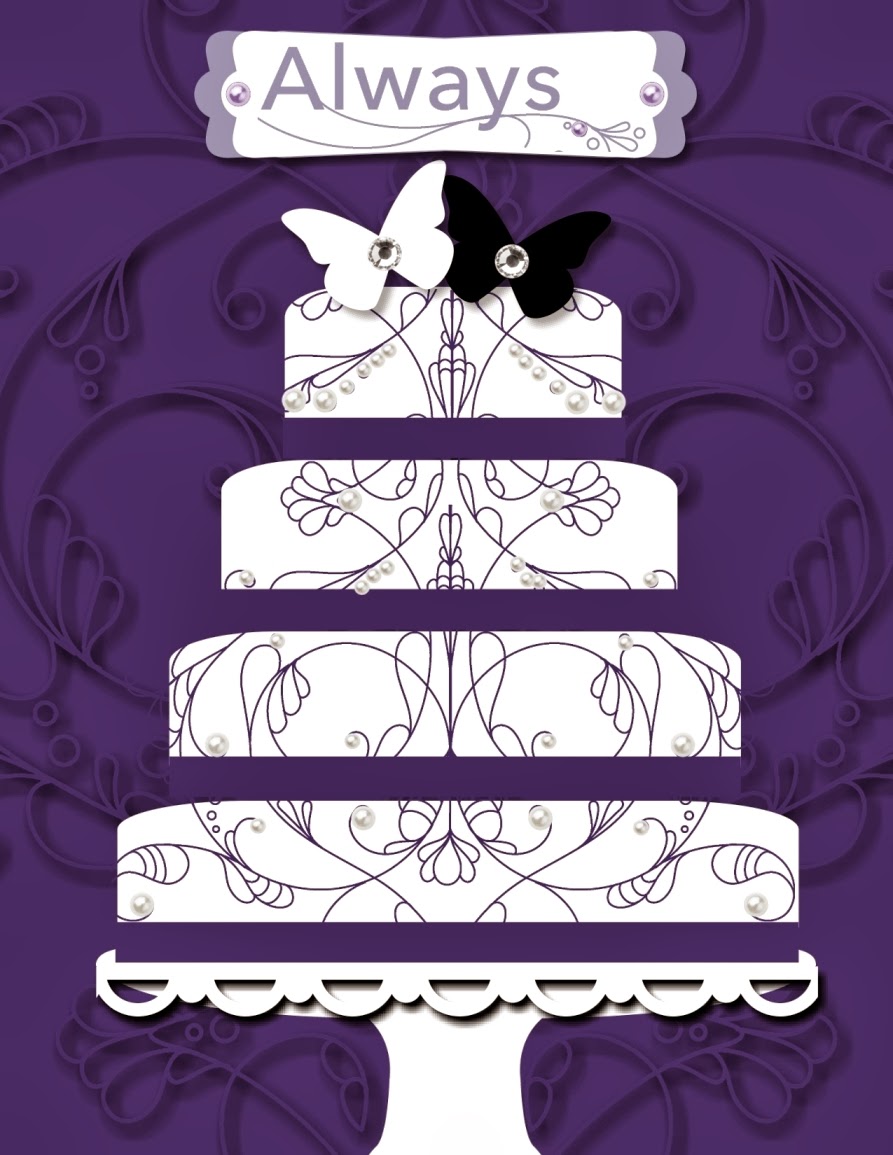
This Wedding Cake card is another one where I was still playing around with my technique, but I love how the swirls in the background 'pop' off the back of the card!
I wanted to try to re-create the 'Stripes' embossing folder for this final card.  I created thin strips that I angled and spaced evenly across the front of the card, then did the same 0-Pixel Offset & reduced Blur.  LOVE it!!
O.K. then!!  I think I may have gone a tad overboard with today's tutorial and samples, but I hope you were able to pick something up in here that will help in your digital creations!  And don't forget--if you don't have My Digital Studio yet, you can always try it for FREE (for 30 days) by visiting my online store!!

Happy Stamping!

Pam


Thursday, January 16, 2014

Post-Blog Hop High . . . .

So, did you guys check out yesterday's Diva Blog Hop?!  I gotta admit--I kinda fell in love with all of the ideas that were shared, and got a HUGE desire to re-create some of the cool creations in Digital form!!  But first, if you want to go back and check out the posts, you can go HERE to start at the beginning!!

So, first up, Sue's cute Banner Blast card . . . .  I'm going to show how to do the digital embossing on tomorrow's post, so stay tuned!!

And then Denise's two cards (and yes, I did take a little creative license on these!!):

And finally, I don't have the Gold Foil Paper, but do have the digital Glimmer Paper, so decided to take a little creative license wit the card that Kat showed, and then also turned the adorable t-shirt design she showed into a coordinating card with the digital Twitterpated papers:

So much fun to play with the creativity these lovely ladies showed off yesterday! 

Happy Stamping!!

Pam

Wednesday, January 15, 2014

Diva Blog Hop--Sale-A-Bration Preview


http://stillstampingwithsue.com/
Welcome to our Diva Blog Hop!!  If you're joining me from Denise's Blog, thanks for stopping by!  If you just decided to check in with me, you can sure choose to head to the beginning of the 'Hop' by going here or clicking on the image above--and no worries, you'll be back here eventually!!

One of my favorite times during the year is Stampin' Up!'s Sale-A-Bration sales period--which starts January 28th & runs thru March 31st!!  As demonstrators, we get to pre-order product, and to help build excitement for the upcoming sale (remember, for each $50 you spend, you can select one Sale-A-Bration product for FREE!!), we're showing off some of the cool products available that you can pick from!!

For those that visit my blog regularly, I'm sure it's no surprise that I'm going to talk about the two digital ensembles that folks can get during Sale-A-Bration.  I absolutely LOVE My Digital Studio, and had a lot of fun creating samples to share with you today.

First up, Hooray for Parties (135274).  So, what all comes in this ensemble?
  • Designer templates for invitations, garland, thank yous, mini folder, treat folder, framable & treat box
  • 16-piece stamp brush set
  • 15 designer series paper patterns
  • 13 embellishments
  • 2 punches
I just LOVE the templates that come with some of the various ensembles, and these are no different.  You can add your own personalized text and print them off & you're good to go!!
Invitation Template

Thank You Postcard Template

Party Favor Template
The second digital ensemble is One Big Sale-A-Bration 2014 (134976).  In this kit you'll get:
  • 5 stamp brush sets
    • Banner Blast
    • Decorative Dots
    • Petal Parade
    • See Ya Later
    • You're Lovely
  • 12 Sweet Sorbet Designer Series Paper patterns
  • 14-piece accessory pack
I'll let you in on a little reason of why I LOVE this ensemble so much. . . . . each of the items offered in this kit you can get 'for real' if you spend at least $300 in product, BUT you only have to spend $50 to get the digital option for ALL of that!!  Now, that's NOT going to stop me from getting all of the real stuff, but I can spread out my purchases a bit more, and still get to play with all of the stamp sets available in their digital form in the meantime!!  I also like to try to put together cards that can be created BOTH digitally and by hand, so that it doesn't matter if you have the real set or the digital one, if you see a sample that you like, you will hopefully be able to re-create it!!
SAB Stamp Brush Sets:  Banner Blast, Decorative Dots & See Ya Later
SAB Punch:  Mini Flag Banner Punch
Non-SAB Punch:  Itty Bitty Basics Flower Punch; Flag Punch
SAB Designer Series Paper:  Sweet Sorbet
SAB Embellishments:  Sweet Sorbet Accessory Pack ( summer starfruit thread bow)
Non-SAB Embellishments:  Basics Medium Pearl;  White - Simple Stitches circle 3 (cropped)

SAB Stamp Brush Sets:  Petal Parade
Non-SAB Stamp Brush Set:  Cake & Ice Cream
Non-SAB Punch:  Circle Punches
SAB Designer Series Paper:  Sweet Sorbet
Non-SAB Embellishments:  Large Rhinestone; 2013-2015 In Color Ruffle Trim - crisp cantaloupe 4

SAB Stamp Brush Sets:  See Ya Later
Non-SAB Punch:  Flag Punch
Non-SAB Embellishments: Daffodil Delight Brad; Sycamore Street- Tangerine Tango Button

SAB Stamp Brush Sets:  You're Lovely
Non-SAB Stamp Brush Set:  Quatrefancy - quatrafoil
Non-SAB Embellishments:  Large Pearl; Knots and Ties Trim - pacific point 1 (re-colored=EARLY ESPRESSO);Twitterpated - Blushing Bride; Twitterpated - Pear Pizzazz; White Paper Doily
Now, I enjoy doing cards, but there are a lot of scrapbookers out there as well, so here's a page that I put together.  I decided to dig into the templates that I already had, and decided to create my page based off of this Pinwheels on Parade pre-made template:
And here's what I decided to create using Sale-A-Bration product:

I hope you enjoyed these fun digital offerings!!  I look forward to seeing you again NEXT month!

For quick reference, here is a quick list of our blog hoppers for today:
One stop left on today's hop--Autumn's Blog.  Enjoy!!!

Happy Hopping!!

Pam