Wednesday, January 8, 2014

Inspiration Pages

Coming up with scrapbook page ideas is something that I'm always keeping an eye out for.  I can come up with/design cards easily enough, but when it comes to scrapbooking, I can sometimes be a 'deer in the headlights' and freeze up and have NO clue where/how to turn!  Which is part of why I absolutely LOVE the pre-designed templates that come in My Digital Studio!!

I have a few issues of 'Creating Keepsakes' magazine laying around, and there are SO MANY awesome ideas in them!!  I thought I'd share two with you today that I was able to design pages off of once I saw them!!

First up, I was taking an online class a while back, and the 'challenge' was that we needed to use neon color(s) on the page. . . in paging thru the November/December 2012 issue, I came across this cute layout:
I had the perfect subject to use for my page. . . . my great-nephew Braxton!  And here's the page I came up with:
So, to get my 'neon green', I went into the Palette, as if I were going to change colors normally. I started with Green Galore,then went into the CYMK, and just 'picked' a green that looked like lime/neon green. . . .and clicked O.K. I also added it to my 'favorites', so I could find the color I picked more easily. . . . . I added the color to a square punch that I left on the page, so that when I was playing around with various ribbons and re-coloring them, I had a quick reference to compare to if it re-colored the way I wanted.

For the background, I first colored the page in Crumb Cake, and lowered the opacity to about 80%. Then inserted the First Edition DSP in a square punch and also reduced the opacity on that one. I then overlayed the Natural Composition 5 overlay in Crumb Cake--lowered the opacity again. And finally, color filled a punch in Basic Black which I lowered the opacity on that to 40%. And then I grouped all those back layers so that I could work on top of them without having them move!!


This next page I came across in the May/June 2012 issue:
 And here's my page:
So the original page was done up in blue/red/yellow, and I of course had to do my pages in purple/yellow/black, but it was fun to get creative and play with the digital stitiching, designer papers & embellishments!!

You can probably see elements of the original page in both samples, and some are perhaps more similar than others, but I absolutely LOVE having something to to work from when my brain is not wanting to get creative on me.  There are so many ways to jump-start that creativity--when you're feeling stuck, even paging thru the ads that come with the newspaper have the potential to jump out at you with a color combo, or layout, so one never knows when that inspiration can strike!!

Remember, you can try My Digital Studio for FREE for 30-days by visiting my online store and downloading it!!  Why not start creating your own memories right away?!

Happy Stamping!

Pam 

Sunday, January 5, 2014

Think Spring!!

Oh, wow!!  Some days I wonder about living in the wonderful 'Frozen Tundra'.  MAJOR below zero temps are here for the next few days!!  So I'm doing what I can to think WARM, and what better way that to play with some of the cool things that are in the brand new Occasions Catalog that just unveiled this past week?!

I have to admit--when it comes to some of the various kits that are offered by Stampin' Up!, while I think they're cool, I'm usually not first in line to purchase them.  BUT, I decided to stray outside of my comfort zone, and when I saw the Burlap & Blooms Simply Created Wreath Kit (133333), I knew it would be a fun project to see thru from start to finish!!

You will need to have a hot glue gun handy for assembly--I'm sure you could use other adhesive methods, but I gotta say, I really liked how quickly it all came together with the hot glue.  I also had a paper snips/scissors & a piercing tool/mat available, but those are simply crafting tools that most of us already have in our supplies!!

The directions for assembling the wreath starts with making the adorable pom-pom flowers and has you assembling all of the individual flowers before wrapping the wreath and gluing the completed flowers to it.  It takes a bit of time to complete, but none of the tasks are all that difficult.  And you can really play around with how you arrange the flowers on the wreath--I used the photo of the completed wreath that came in the kit as my 'template', but I love that there's infinite possibilities of how to arrange it, which means you can infuse your own personality into your project!


You can check out this great kit, and all of the awesome offerings of the Occasions Catalog by visiting my online store!! 

Happy Stamping!!

Pam

Wednesday, January 1, 2014

New Year, New Calendars

O.K.  Confession time:  I LOVE calendars.  In my office at work, I have FOUR of them.  Overkill, yes, but it works for me!!  My co-worker who shares the space may not agree, however!!

Several years ago I found some Jewel Case calendars (if you don't know, Jewel Cases are those plastic cases that look like CD cases--but they're made just a little differently--I've tried using the CD cases--they don't work!) in a clearance rack at a local craft store, and I picked a couple up.  Another colleague always has two calendars out herself for her job--one being a month ahead of the current month, and these were PERFECT for her second calendar!!  Well, after that year passed, the cases were still good but I needed new calendars, so I started to create my own in My Digital Studio!!  MDS has some GREAT calendar templates, and initially, I started using them until I got the hang of things!!

To make the calendar, you can actually do TWO months on a single sheet of 8 1/2" x 11" paper, so you only need to create six pages!!  To start, I insert a square punch that I re-size to 4.692 x 5.369.  I select a designer series paper (DSP) that I insert into the punch.  Then layer a second square punch on top of that (filled with Whisper White) that I size to 3.686 x 4.363, and align it to be centered horizontally & vertically on the DSP-filled punch.

In the top portion of the square, I insert a photo box, sized to 3.686 x 2.295, lining up the top edge of the white punch with the photo box.  In the bottom section I use the cool calendar tool that you can access in the Design Center on the right side of your MDS program!!  There is an option to include the Month there, but I  like to insert a text box for that instead.  That way I can play around with cool fonts in to create the Month name!!  Oh!!  And one added little thing.  I insert a circle punch--resized to.25 & lower it's opacity that I place over the various federal holidays on the calendar!  Once I have one template created, I copy/paste it, and get it lined up on the page, then insert five more duplicate pages, which I will then go back and change out the DSP, calendar month, photo, etc. 

The first year, it took me a while to create the template and get it set up.  Now, it probably takes me less than a half hour to design the entire calendar.  Though, to be fair, a lot of that time is spent trying to decide WHICH DSPs & photos I want to use!! 

Almost forgot!!  I also take the matching DSP from each month and place that on the reverse side of the page in order to give it a more 'finished' look when I cut the calendars down to size!!  You can certainly leave the back blank--nothing wrong with that!!

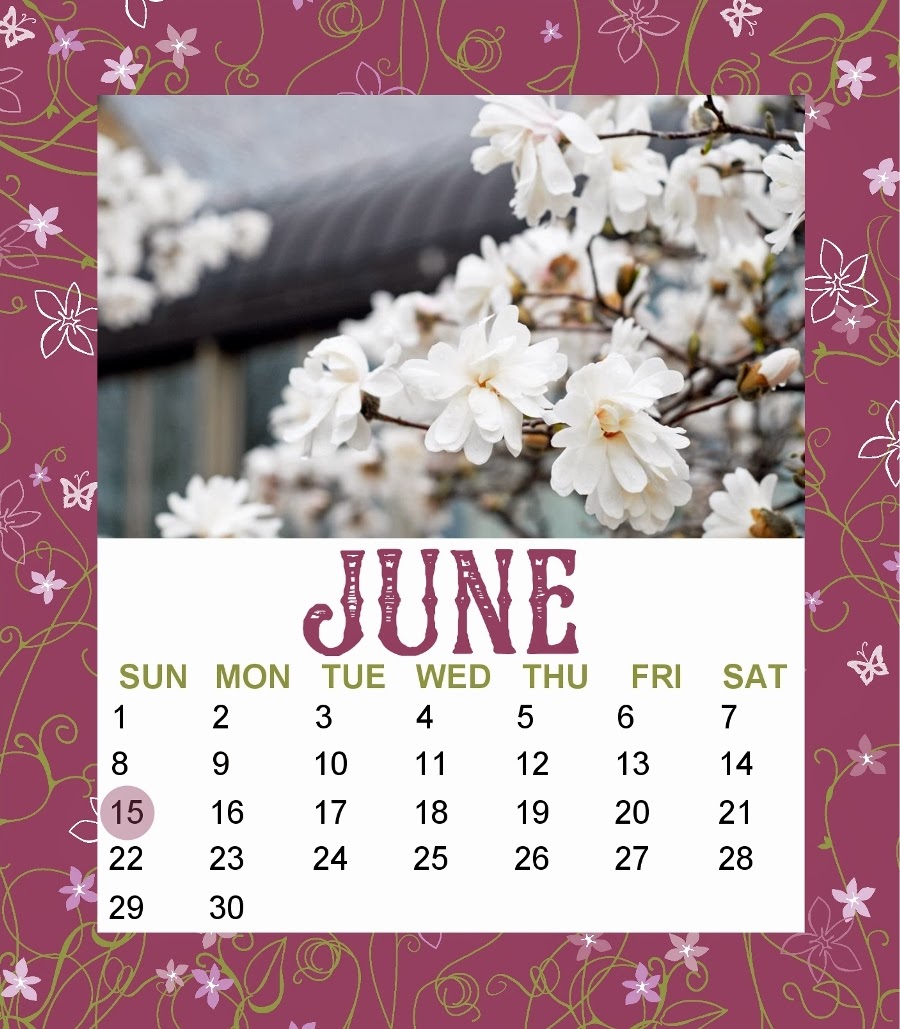
So, here are the finished 'pages' for this year's calendar.  The photos were all taken/posted on the college's official Facebook page, and I just saved ones that I thought might work.  I listed the DSP & font used on each month below each image.  Enjoy!!

DSP:  Winter Frost – 3
Font:  Frostbitten Wanker

DSP:  Convention 2013 - 05 (recolored to Strawberry Slush)
Font:  DJ Candy Heart

DSP:  Grad Party - 3
Font:  Anglo-Saxon, 8th c.

DSP:  Everything Easter - 3
Font:  RMBunny

DSP:  International Bazaar – 1
Font:  LMS Family Shield

DSP:  Cottage Wall - pattern 1
Font:  CM Chipped Paint

DSP:  Leadership 2011 Digital Kit - pattern_05
Font:  Bodie MF

DSP:  Mocha Morning – 6
Font:  ChocolateBoxDecorative

DSP:  Storytime – 25
Font:  Chalkduster

DSP:  Frightful Sight – 12
Font:  KR Gravestone

DSP:  Autumn Spice - pattern 5
Font:  ZallmanCaps

DSP:  Letters to Santa - 3
Font:  Xmas
Now, remember, you can download the FREE 30-day trial of MDS right now by visiting my online store!!!  What better way to start off the new year than by being creative?!

Happy Stamping!!

Pam